Say Goodbye to Store-Bought: Unveiling Your Super Easy Homemade Cream Cheese
Have you ever dreamt of a fresh, preservative-free cream cheese that costs pennies to make and tastes divine? What if we told you it only requires two ingredients and about ten minutes of active prep time? Prepare for an "aha!" moment, because mastering super easy homemade cream cheese is not just possible, it's surprisingly simple and incredibly rewarding. Forget complicated cultures or obscure ingredients; this method taps into a fundamental dairy principle to deliver a smooth, tangy, and utterly versatile spread right from your kitchen. Making your own cream cheese means complete control over what goes into your food. No more questioning additives, unnecessary sugars, or stabilizers. Instead, you get a pure, fresh product bursting with creamy goodness, ready to be customized for any culinary whim – whether you're craving a sweet breakfast spread or a savory dip for your next gathering. It’s an empowering culinary adventure that transforms humble milk into something truly extraordinary.The Simple Science: How Just Two Ingredients Transform into Creamy Perfection
The magic behind this super easy homemade cream cheese lies in a fundamental chemical reaction: the curdling of milk proteins using an acid. You only need two core ingredients, plus an optional third for flavor:Essential Ingredients:
- Whole Milk: Approximately 8 cups (2 liters). For the richest, creamiest result, whole milk is paramount. While raw or pasteurized milk works best, allowing for optimal curd formation, even lactose-free milk can be used, as the proteins essential for curdling are still present. Avoid UHT (Ultra-High Temperature) milk if possible, as its intensely processed nature can sometimes inhibit proper curdling. Experimenting with a 50/50 mix of whole milk and heavy cream will yield an even richer, more decadent product, though it will naturally increase the fat content.
- Acid: 5 tablespoons of fresh lemon juice (from about 1 large lemon) or white vinegar. This is your curdling agent. Both work equally well, with lemon juice often imparting a subtly brighter flavor.
Optional Ingredient:
- Salt: ½ teaspoon, to taste. Salt elevates the flavor of your cream cheese, bringing out its inherent creaminess. You can adjust the amount or even omit it if you plan on using the cream cheese exclusively for sweet applications.
Your Step-by-Step Journey to Super Easy Homemade Cream Cheese
The process for making super easy homemade cream cheese is more about patience than intricate technique. Gather your tools – a large saucepan, cheesecloth, a sieve or colander, a slotted spoon, and a food processor or blender – and let’s begin.1. Gently Heat the Milk
Pour the 8 cups of whole milk into your saucepan. Place it over medium-high heat and bring it to a gentle simmer. This means you'll see small bubbles forming around the edges of the pan and perhaps a faint wisp of steam, but it should not come to a rolling boil. Continue to heat for 1-2 minutes after reaching this point, stirring occasionally to prevent scorching. The goal is to warm the milk enough to encourage efficient curdling without cooking it too aggressively.2. Introduce the Acid Catalyst
Once the milk is gently simmering, remove the saucepan from the heat. Stir in the 5 tablespoons of lemon juice or white vinegar. Give it a gentle stir – just enough to distribute the acid evenly.3. Witness the Curdling Spectacle
Now, the magic happens. Let the mixture sit undisturbed for 5-10 minutes. You'll quickly observe the milk separating into solid curds (the white, chunky bits) and a yellowish, watery liquid known as whey. This is exactly what you want! The longer it sits, the more defined the separation will become.4. Strain for Success
Line a sieve or colander with a few layers of cheesecloth and place it over a large bowl (to catch the valuable whey). Carefully pour the curdled milk into the cheesecloth-lined sieve. The whey will drain away, leaving the curds behind. If you don't have cheesecloth, a fine-mesh sieve or even a slotted spoon can work, though cheesecloth provides a more thorough separation.5. Rinse and Refine
Once most of the whey has drained, gather the edges of the cheesecloth to form a bundle. Rinse the curds under cold running water for a minute or two. This crucial step washes away any residual tanginess from the lemon juice or vinegar, ensuring your cream cheese has a clean, milky flavor. After rinsing, gently squeeze the cheesecloth bundle to remove as much excess liquid as possible. The drier the curds, the thicker and firmer your final cream cheese will be.6. Blend to Bliss
7. Flavor Freedom (Optional)
This is where your creativity shines! If you want to infuse your cream cheese with extra flavor, now is the time. Add finely chopped fresh herbs like chives or dill, minced garlic, a pinch of chili flakes, or a dash of black pepper. Blend briefly to incorporate.Beyond the Basic Spread: Creative Ways to Enjoy Your DIY Cream Cheese
With your batch of super easy homemade cream cheese ready, the culinary possibilities are endless. Its fresh, mild flavor and customizable texture make it perfect for both sweet and savory applications.Sweet Indulgences:
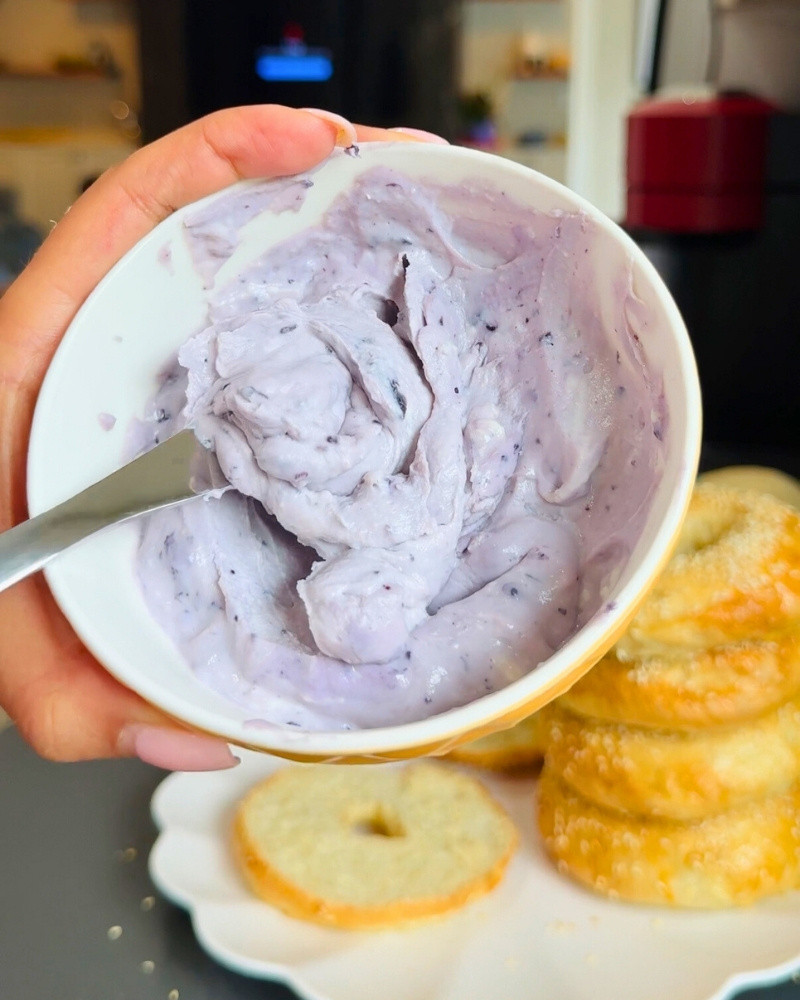
- Classic Bagel Topper: Spread generously on a toasted bagel, perhaps with a drizzle of honey or a sprinkle of cinnamon sugar.
- Fruit Dip: Sweeten with a touch of powdered sugar and vanilla extract for a delightful dip for fresh berries, apple slices, or melon.
- Dessert Frosting: With additional sugar and butter, it can become a light, tangy frosting for cupcakes, carrot cake, or red velvet cake.
- No-Bake Cheesecakes: Use it as the star ingredient in simple, individual no-bake cheesecake parfaits.
Savory Sensations:
- Herb & Garlic Spread: Blend in fresh chives, parsley, dill, and a touch of garlic powder or minced garlic for an irresistible savory spread for crackers, sandwiches, or vegetable sticks.
- Stuffed Veggies: Mix with breadcrumbs, herbs, and spices to stuff bell peppers, mushrooms, or cherry tomatoes before baking.
- Creamy Sauces: Incorporate into pasta sauces or mashed potatoes for an extra layer of richness and tang.
- Sandwich & Wrap Filler: A healthier, fresher alternative to mayonnaise or other spreads. Add sliced cucumber, bell peppers, or smoked salmon for a gourmet touch.
Storage, Shelf Life, and the Wonderful World of Whey
Proper storage is key to enjoying your super easy homemade cream cheese for as long as possible. Transfer your freshly made cream cheese to an airtight container and store it in the refrigerator. It will stay fresh for up to 7 days. If you've added fresh ingredients like herbs or garlic, the shelf life might be slightly shorter, so consume those batches within 3-5 days for optimal freshness. For longer storage, cream cheese can be frozen for up to 2 months. Thaw it in the refrigerator overnight before use, and stir well to restore its texture. And what about that yellowish liquid you strained off? Don't discard it! This is fresh whey, a nutritious byproduct packed with protein, vitamins, and minerals. It's too valuable to waste!Clever Uses for Leftover Whey:
- Smoothies & Shakes: Replace some of the liquid in your favorite smoothie recipe for a protein boost.
- Baking: Use it in place of water or milk in bread dough, pancakes, waffles, or muffins for a tender crumb and added nutritional value.
- Soups & Stews: Incorporate it into broths or as a base for creamy soups.
- Cooking Grains: Use whey instead of water to cook rice, quinoa, or other grains.
- Plant & Pet Food: Diluted whey can even be used to water acid-loving plants or as a supplement for pets.
